
Digging Up and Storing Dahlias, Gladiolus, and Begonias: A Complete Winter Survival Guide
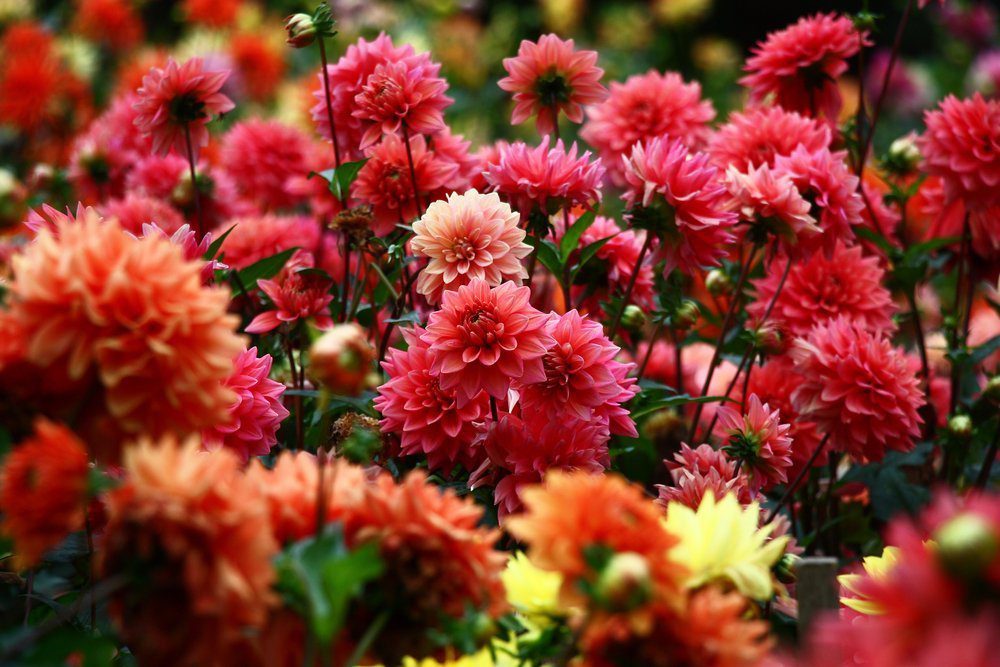
Dahlias
More and more, gardeners have come to appreciate the role of dahlias in the late-summer garden. Because they come in so many colors – far more than asters and mums – and so many varieties, an entire garden of dahlias can light up September and well into October. Unless you are fortunate enough to live in zones where winter temperatures don’t fall far below freezing, say no more than 20 degrees, your plants will die, but the tubers, if the ground is well-drained, may survive. Just cut down the blackened foliage, and mulch, mulch, mulch.
Then there are the rest of us, basically zones 6 and below, from the mid-Atlantic north. We have to dig. If you like the collage of colors, it won’t matter which tubers you dig, but you should dig only the dahlias that were great performers. (It would be nice if you tagged those.)
What you will need: Garden fork, shovel, garbage bags, basement or spare room with no heat.
Cut off the foliage down to about 8 inches above the ground. That goes off to recycling. Step next to the stem, and then use the fork about where your heel lands, all the way around the plant. (For dinner-plate dahlias, you may have to dig wider.) And don’t be afraid to dig deep. These are tubers, not bulbs, and the long, fat fingers have been growing and multiplying all summer.
You are going to take the entire root ball. The fork is helpful in digging down, and the shovel will help with leverage. Heave the dahlia out of the ground and into a contractor’s black refuse bag. Put as many dahlias in as will be able to fill the bag, with the top folded back, and the stems still visible.
The bag should sit like that for several days, outdoors if it is sunny. You want the root ball to dry out. Eventually the bag will be transferred to a winter spot where it will not freeze. Do not close the bag, just gather the top loosely. A garage will do if water there doesn’t freeze. Come spring, on a sunny day, haul the bags to the garden. The dirt will be easy to knock off the tubers.
The fun part is dividing the dahlia tubers. Each one will need an eye, the little white sprout on top near the lumpy stem. It helps if you can divide the clump so each tuber has part of the stem. You will be the most popular person in your gardening club if you have dahlias to give away.
Begonias

Tuberous begonias grow from corms. After a frost kills off the fleshy plant, simply lift the dish-shaped corm underneath. You may have to loosen the soil around it a bit. What you end up with looks a little like a truffle. Make sure the corms are healthy… no rot, insect holes or mildew. When they are dry, put them in a net sack, a paper bag open at the top or some other way to store them until the spring. When you replant them, just remember to set them on the soil concave side up. (I prefer to grow tuberous begonias in pots, and let them dry out and winter in the pots.)
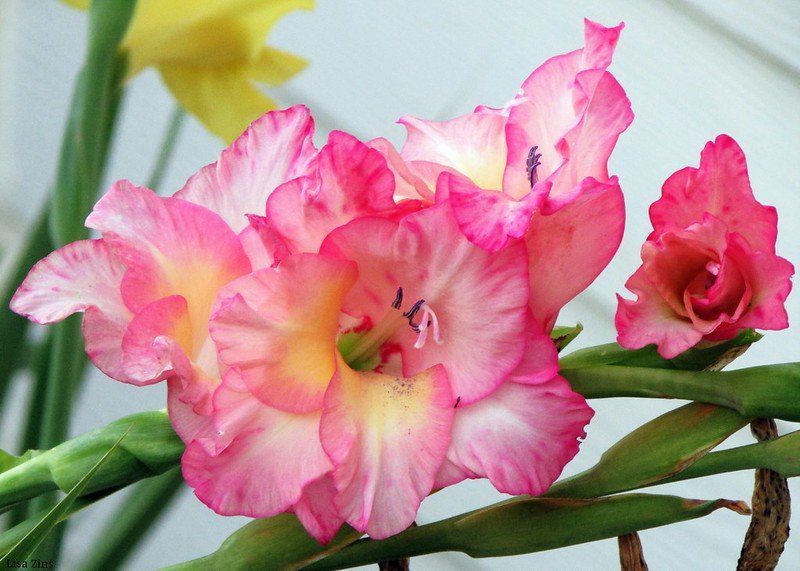
Gladiolus and Tulip
There is usually one train of thought about glads. They are cheap. Treat them as an annual and plant new ones every year. Even better as you get older, hire teenagers with good knees to plant them.
Planting glads once is a big enough chore, but digging them up and replanting them?
Inconceivable!
The good news is that gardeners in zones as far north as 6a report that their glads, or at least some of them, come back year after year. Credit climate change. Some gardeners say the secret is mulch (of course), some say if you have sandy soil, plant them deep. Others stick them along the south-facing brick wall, where the solarium effect keeps things toasty during the winter.
However, some gardeners do dig up their glads, or at least special glads. They might be trying to cross breed glads. Or it might be for sentimental reasons. There is really nothing to it. Stick a garden fork in the ground. Once again, a glad grows from a corm, not a bulb, but everyone calls them bulbs, so go ahead. The stalk is going to be firmly attached, so use it as a handle to pick the corm up. A nice garden hatchet and a stump would be useful about now. Chop off the stem, leaving about a half inch at the top of the corm. Let it dry completely before putting it in a safe place. And please label it.
The same goes for tulips. Tulips peter out after a few years, even the biggest bulbs. (Daffodils, at least, multiply.) So digging tulips up and replanting them may seem like a waste of time. But some people do it, mostly to winnow out the smaller bulbs. We call these people obsessive. The problem is that this must be done in the spring, when there is dead tulip foliage to mark the spot. It can’t be done in the fall.
Exotics
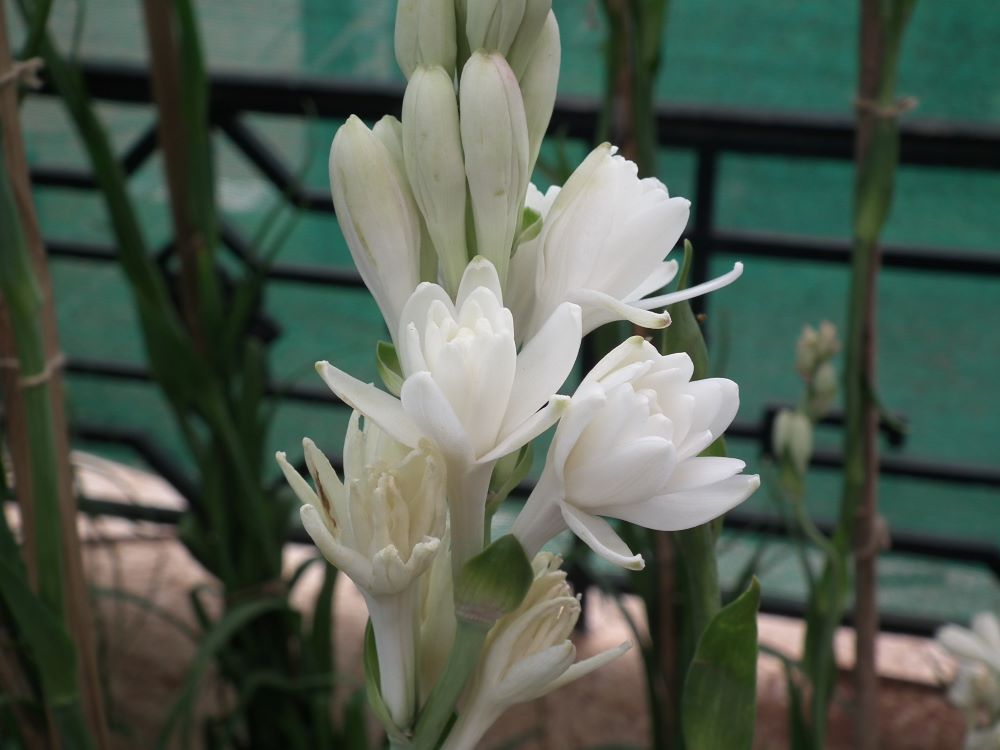
For every lowly glad being dug up, every tulip, there are exotics that a gardener will treasure, and keep an eye on all season. So it was with my tuberose, above. I will definitely be digging that up, and hope it will bloom again next year.
I also planted Peruvian lilies (alstroemeria) and no such luck. They either didn’t like their location, or I planted them too late. But they had nice leaves. So the Peruvian lily tubers are coming out of the ground. I will label their paper bag carefully, so I don’t confuse those tubers with the small dahlia tubers.
Next spring I will plant them Peruvian lilies. That is my plan.
As with most plans, it may not be executed perfectly. – Linda Lee
Linda Lee is a former editor at The New York Times. She was the deputy editor of the House & Home section, where she edited the gardening column, among other duties. She also wrote frequently for Sunday Styles.