
How to Grow and Care for Daylilies – Tips For Daylily Care
When to plant: bare root daylilies should be plated in the spring; potted day lilies can be planted any time.
What daylily (hemerocallis) means. Hemerocallis, from the Greek – hemera (day) and “callos” (beauty). In many languages, the name remains “daylily.” In German it is taglily, in Spanish “lirio del dia.” The idea is the same: a lily that lasts a day. In Victorian times, a daylily represented flirtation, perhaps reinforcing the idea that it was not true love, but lasting only a day.
When it blooms: summertime to frost, depending on the cultivar.
Where to plant: Direct sun, or a spot with at least 4 to 6 hours of sun.
Tips To Grow And Care For Daylilies
The following is according to Amador Flower Farm, in Plymouth, California, which sits at a thousand feet elevation, east of Sacramento, and grows 1,200 varieties of daylilies on 14 acres.
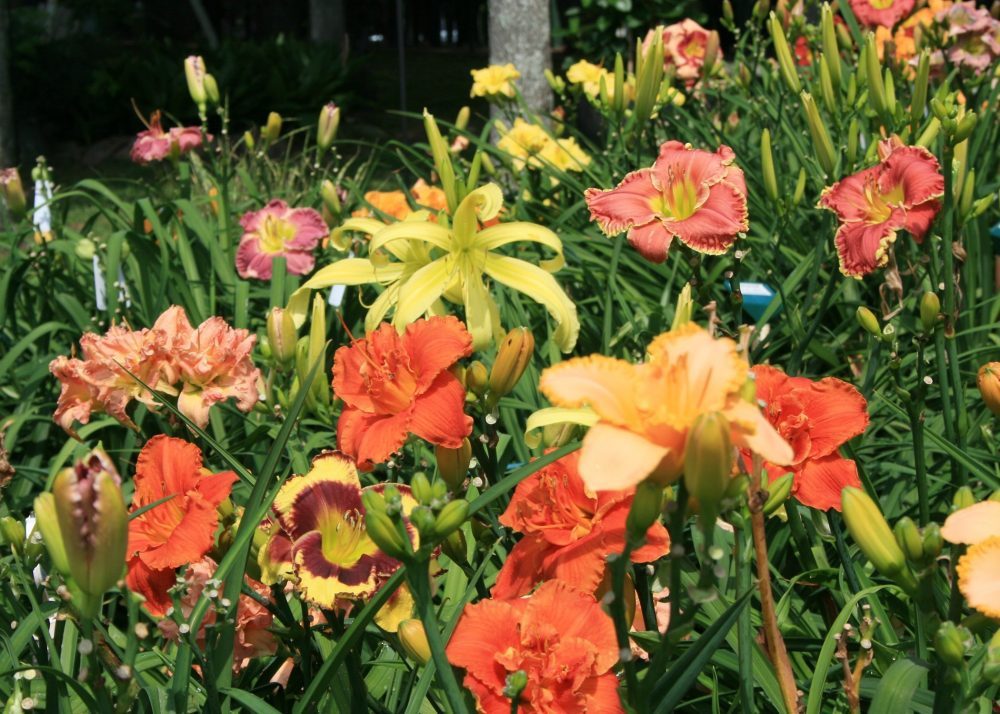
Daylilies adapt to any kind of soil. They come in a variety of shapes, sizes and colors and bloom cycles, giving your garden blooms all season long. Known as one of the easiest plants to grow, they will grow in almost any soil but prefer either a neutral or slightly acid soil. Daylilies thrive best in direct sun or partial shade that receives at least 4-6 hours of sun a day. Daylilies can be planted any time as long as they are in the ground well before it freezes.
Easy to Plant
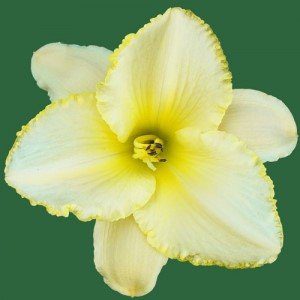
Daylilies should be planted in full sun or partial shade with 4 to 6 hours of sun a day. Despite the preference of full sun, occasionally colorful daylily blooms, like the extra-early blooming evergreen called Double Centennial, above, can be found under the shade of tall trees. Wherever some shade is present, daylily flowers will face away from it toward open sky. Avoid low wet spots where water collects in rainy spells, and high dry spots over ledges where the soil is shallow.
When to Plant
Daylilies can be planted very successfully at any time the ground can be worked — spring, summer or fall. Fall planted daylilies should be mulched to prevent winter frost heaving. We recommend that you plant your daylilies right away when you receive them. However, if they are held for several days, set the roots in water for one hour before planting.
Potted Plants
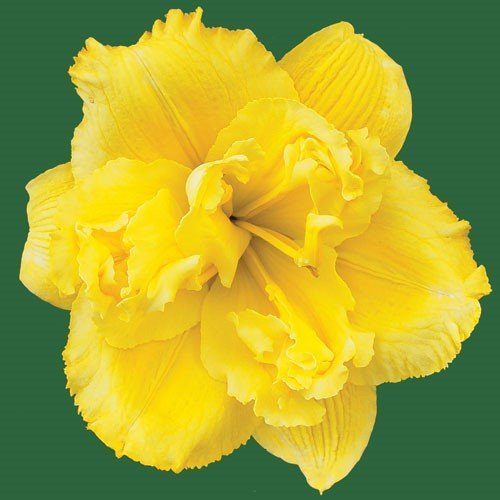
Dig a hole a little larger than the pot. Remove the daylily, such as Amador’s late-season, reblooming semi-evergreen called Blizzard Bay, above, from the pot, loosen the roots, and place into the hole, packing dirt firmly around it.
Bare-Root Plants
Keep in a cool place until you can plant. If held for several days, soak roots in water one hour before planting. Prepare a hole with a cone of soil in the middle. Spread the roots over cone with the crown a little below ground level. Press soil firmly around the plant, covering the crown with one inch of soil. Water newly planted daylilies well.
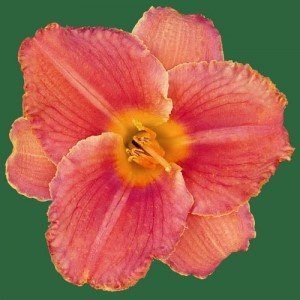
In a mixed perennial flower border allow a circle of 16 to 18 inches in diameter if the daylilies, like a clump of early, fragrant, reblooming Betty Woods, above, will be divided and replanted in 3 to 5 years. If you expect to leave the daylily clump intact for 10 to 15 years, it will need a 24 to 30 inch space. The same applies to a daylily flower border. In a landscape setting, such as a bank to be covered with daylilies, space the daylily plants in a triangular pattern with each plant 24 inches from its neighbors. 100 square feet of bank will then require 30 daylily plants. As an edging along a walk, space the daylily plants 12 to 18 inches apart in a single line.
Daylilies should be planted at least 12 inches apart in well-drained soil. First prepare the soil by adding a small amount of balanced fertilizer, we use 20-20-20. After planting, fertilize each spring.
Mulch
One to four inches of mulch will retain soil moisture and inhibit weed growth among the daylily plants. Leaves, hay, wood chips and grass clippings are suitable, but they withdraw some of the soil nitrogen during their own slow decomposition. You may wish to add some fertilizer, especially with freshly cut wood chips. Where the ground normally freezes in winter, fall-planted daylilies should be mulched heavily the first year to prevent them from being heaved out of the ground.
Fertilizer
An organic compost soil is seldom deficient in plant nutrients. To maintain excellent daylily growth on a midseason beauty like Amador’s South Street, above, add any slow release, composted organic matter such as horse, sheep or cow manure, or your own compost, in either spring or fall.
Although daylilies are drought tolerant they will bloom better if they receive water regularly. Here at Amador Flower Farm, we water all of our gardens using overhead sprinklers. Our demonstration gardens are watered daily and our growing grounds are watered twice a week during our very hot and dry California summers. Our gardens all have 3″ to 4″ of mulch. We feel this makes our beds look nicer. Using mulch also prevents moisture from evaporating rapidly and helps to control weed growth. We use a partially rotted bark to mulch our beds.
Deer Resistant
Daylilies are relatively pest-free. They are listed as deer-resistant but in some areas when there is nothing else to eat in the fall, deer will eat daylilies. Gophers generally just move the daylilies around a little, they can be a problem if there are to many, we strive to keep them out of our daylilies.
Which Daylilies are best for my climate?
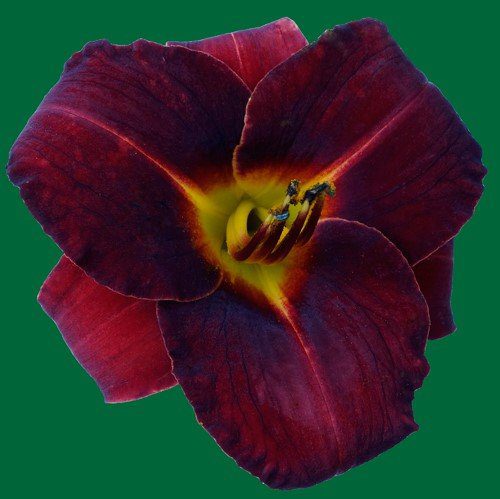
Daylilies are available with Evergreen, Semi-Evergreen or Dormant (deciduous) foliage, like the mid-late season Broadway Ruby Slippers, below. You should keep the following guidelines in mind when ordering daylilies for your garden.
Divide your daylilies shortly after they have bloomed. On average they do not need to be divided for 3 to 4 years. By that time the clumps may have become quite large and blooming may be slowing down. Dividing is as simple as digging up the entire clump and carefully separating the individual roots into several plants. Trim back the leaves to about 6 inches and plant 2 to 3 fans together in a new location. This is a great and affordable way to grow your garden.
Your plants should be fully trimmed back to the ground once a year. This can done in the fall or in the spring. I tend to choose the fall as I prefer to have my garden cleaned up before spring arrives and I become too busy. I believe it also helps to keep disease and pests at bay.
A Few Fun Facts about Daylilies
Dormant plants can grow well in areas with winter temperatures down to -35 degrees Fahrenheit. They may grow in mild winter climates but they might not get enough winter chill to perform well.
Evergreen plants can take temperatures down to -20 Fahrenheit but need a 4 to 6 inch layer of mulch.
Semi-Evergreen plants vary. This designation is used by hybridizers when dormant or evergreen is not an adequate description.
The USDA planting zone map is based on the average annual minimum winter temperature, divided into 10-degree Fahrenheit zones. We recommend these general guidelines for planting daylilies:
Dormant Plants USDA Zones 3-9
Semi Evergreen USDA Zones 5-11
Evergreen USDA Zones 8-11