
9 Tips for Making Simple and Stunning Floral Collages
By Jill Brooke
Dr. Richard Howard has spent a lifetime as a surgeon involved in organ transplants. While his professional career has had him working with the human body, in his free time, he works with other kinds of living things, flowers, in the creation of floral collages.
“Flowers are one of God’s best creations,” says the Florida-based Howard. Aside from human beings, of course.
Howard works with simple supermarket flowers, photographing them individually and then blends them digitally.
Recommended: Tips for Creating Tables While Zooming with Friends and Family
“Each one of those elements, including the vines, are individual photographs,” he explains. “Then you add one on top of the other in photoshop.”
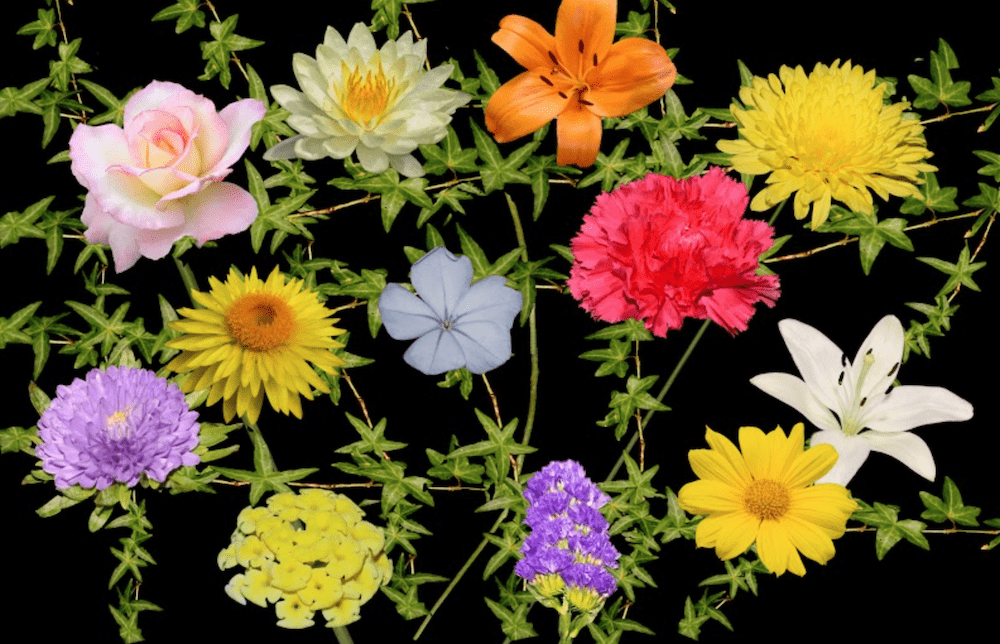
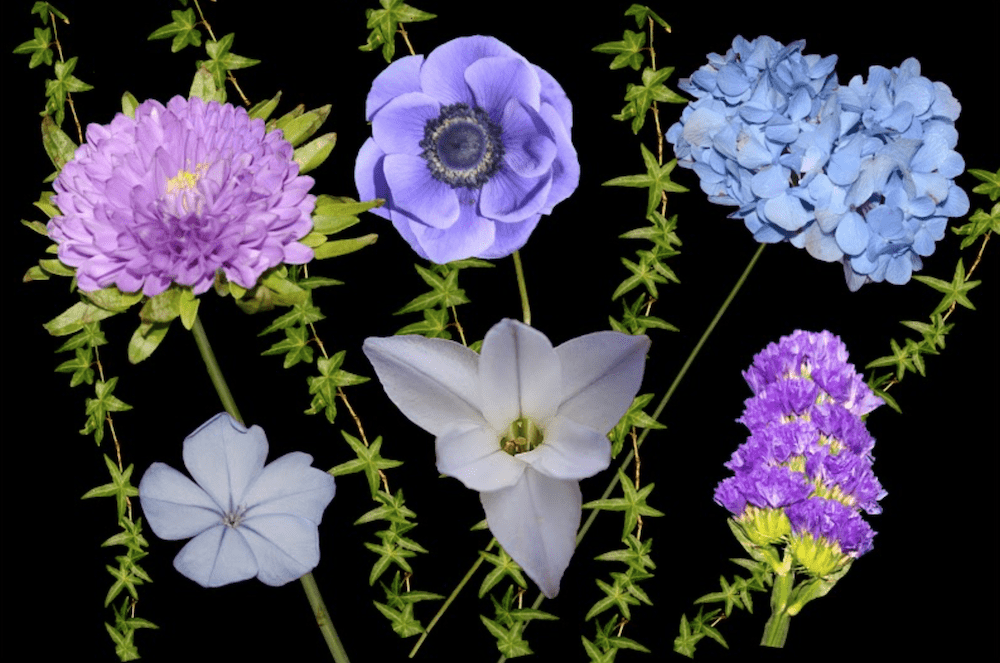
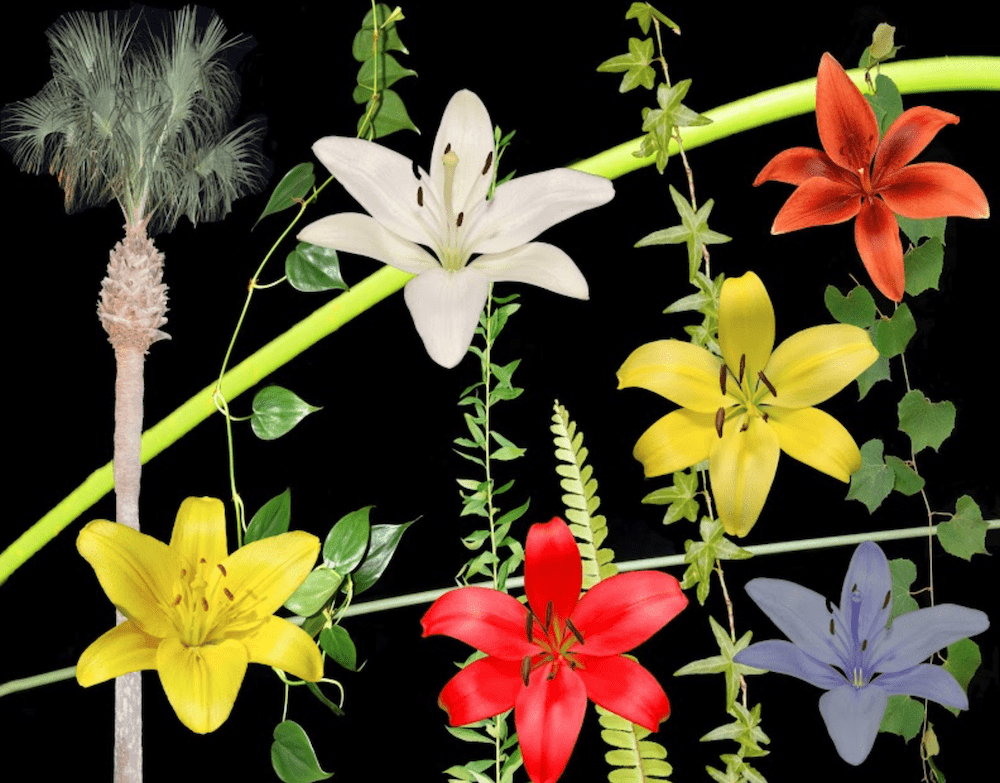
He uses a black background and then like a chessboard, puts the photos in an order to create these beautiful collages. For one of his works, he may use various blooms in the same color palette or he may stick to one particular flower in various colors.
“It’s a great hobby,” he adds. “Aside from working with something that is so beautiful.”
To create images like Howard’s, here are his 9 tips:
- I used Photoshop Elements. You can use most other photo processing programs
- All elements in the collage (flowers, stems, ivy, etc.) were photographed separately on black backgrounds.
- Initially, I created a blank file. You can choose to make the height and width whatever you desire.
- I began by making the blank file black
- Next, I began “cutting out” the element I wanted with the lasso tool followed by “cutting it out” under edit and then pasting onto the file. If you copy and paste rather than cut and paste, you won’t destroy the original photograph. Note: Each element should be in its own layer, so you can reposition them and edit them within the new picture.
- I started with those elements that were farthest back (i. e. the stems and ivy).
- Last I added the flowers. For some with sharp borders, the quick selection tool was helpful.
- I then tentatively arranged each where it would be in the collage.
- The tedious part came in erasing some of the crossing elements where some of the black of, for instance, of a stem on top of the ivy obscured some of the ivy. You have to erase the black in stems’ layer so the ivy underneath is visible. The challenge in your technique is to not erase part of the stem too. This may take a few tries but then the results are truly worth it.
Recommended: Nature Photographer Jim Fowler’s Photos of Orchids Become U.S. Postage Stamps
Since we are sequestered at home, this could be a fun project to occupy you—especially if you have some wilted flowers you’re about to change out.
Or if you have fresh flowers, you could cut the stems to use in a collage, and place the blossoms in tiny vases. Use your imagination.
Perhaps create a gift for someone who is ill or someone who needs to be reminded that you are thinking of them. No act of love is ever wasted. Plus you can have inexpensive artwork for your home. Petal On.
Share this post: